Our Self-Storage Guide
If you’re new to self storage then we know it can seem a little daunting at the outset. Don’t worry, it’s really not too complicated.

At Attic Self Storage, we wanted to make the whole process even more flexible. That’s why, other than moving in, we’ve made it possible to do everything online. That means that you can sign up and manage your self storage unit from the comfort of your sofa or desk, at whatever time of day or night works best for you. Despite appearances, we remain the only self storage operator in the UK offering this service.
We also have lots of handy online tools, including our VR enabled tour of our sites (once again, unique to Attic Self Storage), our storage space calculator, our location finder, quote requester, and online check-in.
If you’re new to Attic Self Storage, or self storage in general, the below guide will help you navigate the whole registration process and show how to get the most out of your new self storage unit.
We hope this self storage guide will be easy to follow but please feel free to reach out to us on 020 3797 0493 if there’s anything you’re unsure about.
How does the registration process at Attic Self Storage work?
Step 1 – Find the right location for you
Enter your postcode into our location finder and select the location that is ideal for you. This might be one that is close to your work, home or business, depending on when you want to access your things. Select the location you prefer and this will take you to our quote request tool.
Step 2 – Calculate how much space you’ll need and request a quote
Next you will need to have an idea of what sort of space you will need. You can use our handy storage space calculator for this. It will help you to estimate how many things you can fit into each unit size on the basis of a typical fill, the space the things occupy at the moment or car/van size. Of course, if you know how much space you want you can select this directly.
If you’re not sure, give us a call or pay us a visit to take a look at some storage units – we’d love to help.
Now – just enter a few additional details, such as estimated move in and move out dates and your contact details, and your personalised quote will be displayed.
You’ll have options to see pricing for larger or small units and also for the other locations too.
Don’t worry if you’re not sure about exact dates or sizes at this stage, these can always be changed before, during or after you move in.
Step 3 – Reserve your unit
Pick the unit that you think is right for you and select “reserve”.
Don’t worry, our team will be in touch to make sure that this unit is right for your needs before you move in, and they can move you to an alternative unit if necessary!
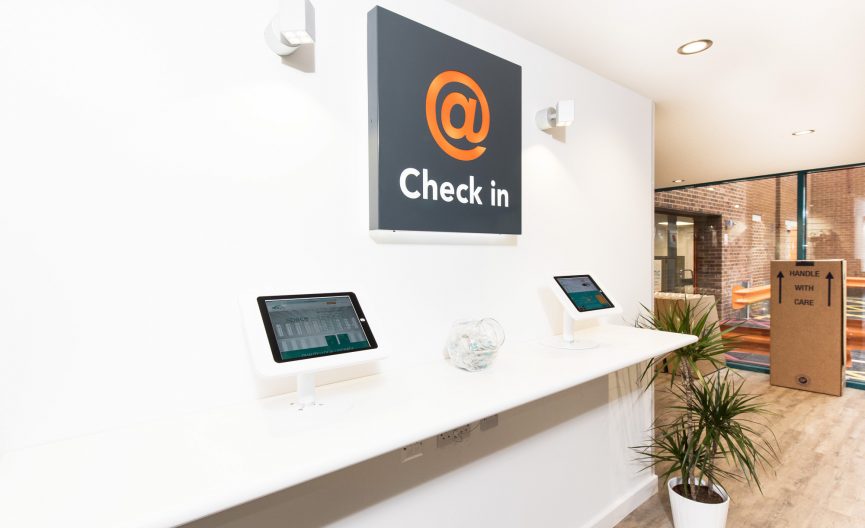
Step 4 – Check in online
This is a necessary part of the process so that we can maintain our high levels of security on site. This involves:
- Uploading a scan of one form of ID
- Agreeing to our service contract, which is in line with the industry standard
- Selecting the right level of insurance cover based on replacing your items new.
- Setting up your payment details
- Providing alternative / emergency contact details
- Setting up your ANPR number plate
You can do this all online, at whatever time suits before you move in.
Step 5 – Move in
On move in day you will just need to allow 5 minutes for our team to take you through our safety briefing, give you your access code and show you to where your unit is located. You can then move in and access your unit whenever you like, 24- hours a day, 7 days a week.
On move in day you will need to pay for:
- Your first month’s rent – we often have special offers that can significantly reduce this
- Insurance cover
Moving in
If you’d like help with moving your things in, we work with a network of suppliers who can help with getting your things packed, collected and delivered – just ask a members of out store team and they can help arrange this for you prior to move-in day.
Loading bays
We have a number of loading bays at our self storage facilities. They are ideally located next to the entrance and close to the lifts and the trollies. We also have bays for bicycles should you prefer to travel this was when you visit your self storage unit.
Step 6 – Move Out
We do ask that you give 1 month’s notice to move out – just as if you were moving out of a flat. But please don’t worry, we know plans change all the time so the unit remains yours until the day you move out …just keep us updated as and when you know more about your move-out date. You can also keep extending your stay as many times as you like, for as long as you like.
When you’re done, you need to make sure that you empty your unit and remove your padlock.
Then complete our check-out form with a member of the team, so that we can arrange the refund of any unused rent.
And that’s it – just remember you can contact our team at any time to help you with any questions whenever you might have them and whatever they might be. If it’s easier you might also find the answer in our FAQs.